Dumping line while a kite is barely lifting can cause a damaging ground strike; learning how to fly a kite starts with position and tension. For a recreational single-line kite, stand upwind with your back to the breeze, place the kite downwind facing you, and release line gradually once it pulls and climbs.
To fly a kite, first match it to the conditions, then establish a downwind launch and maintain enough line tension for controlled flight. Begin with a single-line recreational kite if you want a stable first flight; dual-line sport kites need steering inputs and their own launch instructions. This guide explains where to stand, how the wind window changes pull, and what to do when a kite stops climbing or loses flying shape. For wind-speed limits, use the maker’s rating and the linked wind-speed guide. Launch technique cannot make an unsuitable wind or flying field suitable.
| Input or item | Typical value or source | Why it matters |
|---|---|---|
| Wind direction | Local flag or other wind indicator; NWS Beaufort observations | Places you upwind and the kite downwind |
| Wind strength | Your kite’s published operating range | Determines whether to launch or wait |
| Upwind surroundings | Prism’s flying-site guidance | Trees and buildings disturb the incoming airflow |
| Launch setup | NASA single-line explanation; maker’s manual for the actual kite | Keeps different control systems from being confused |
| Flying line | Maker-specified line, inspected before flight | Damage and tangles interrupt control |
Put the kite downwind and check the entire flight space
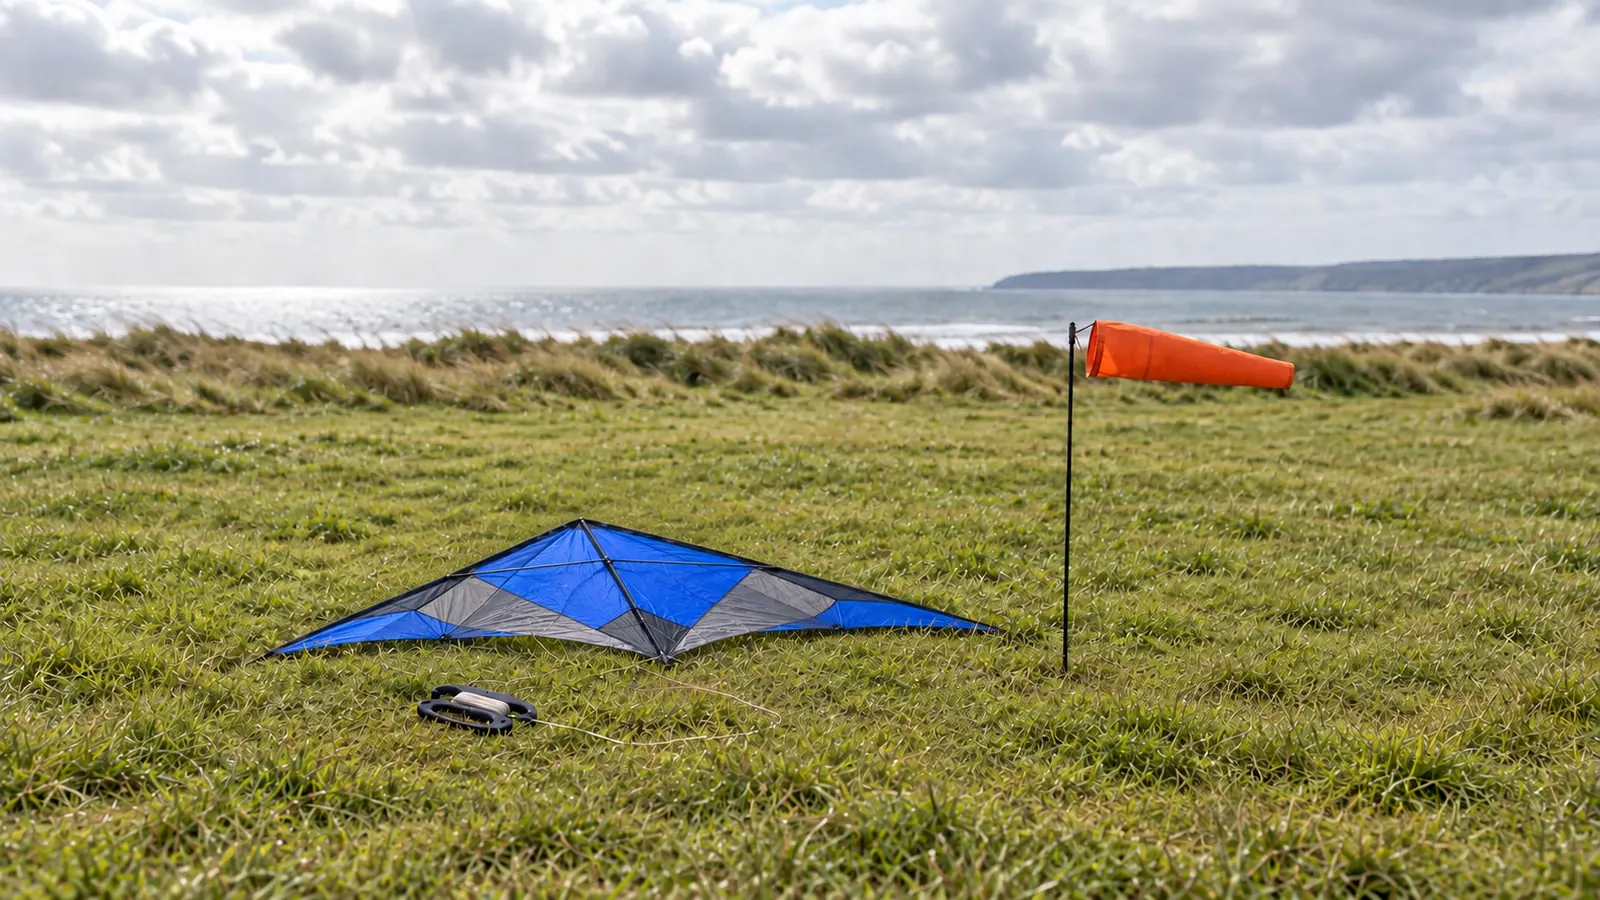
Choose an open site where the wind reaches you without first passing through nearby trees or buildings. Prism’s Kite Flying Basics explains that an otherwise promising field can become turbulent when the wind direction changes. Look upwind as well as at the empty ground ahead.
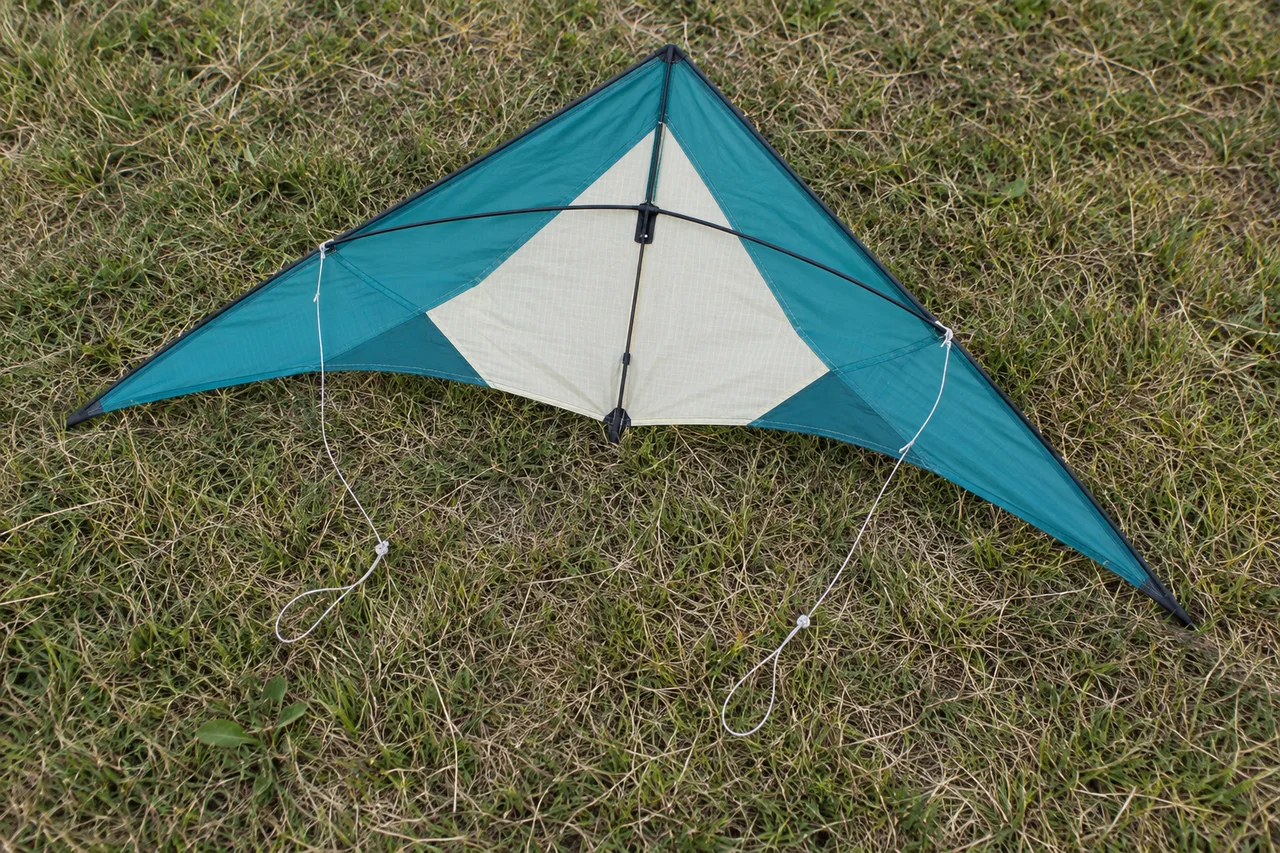
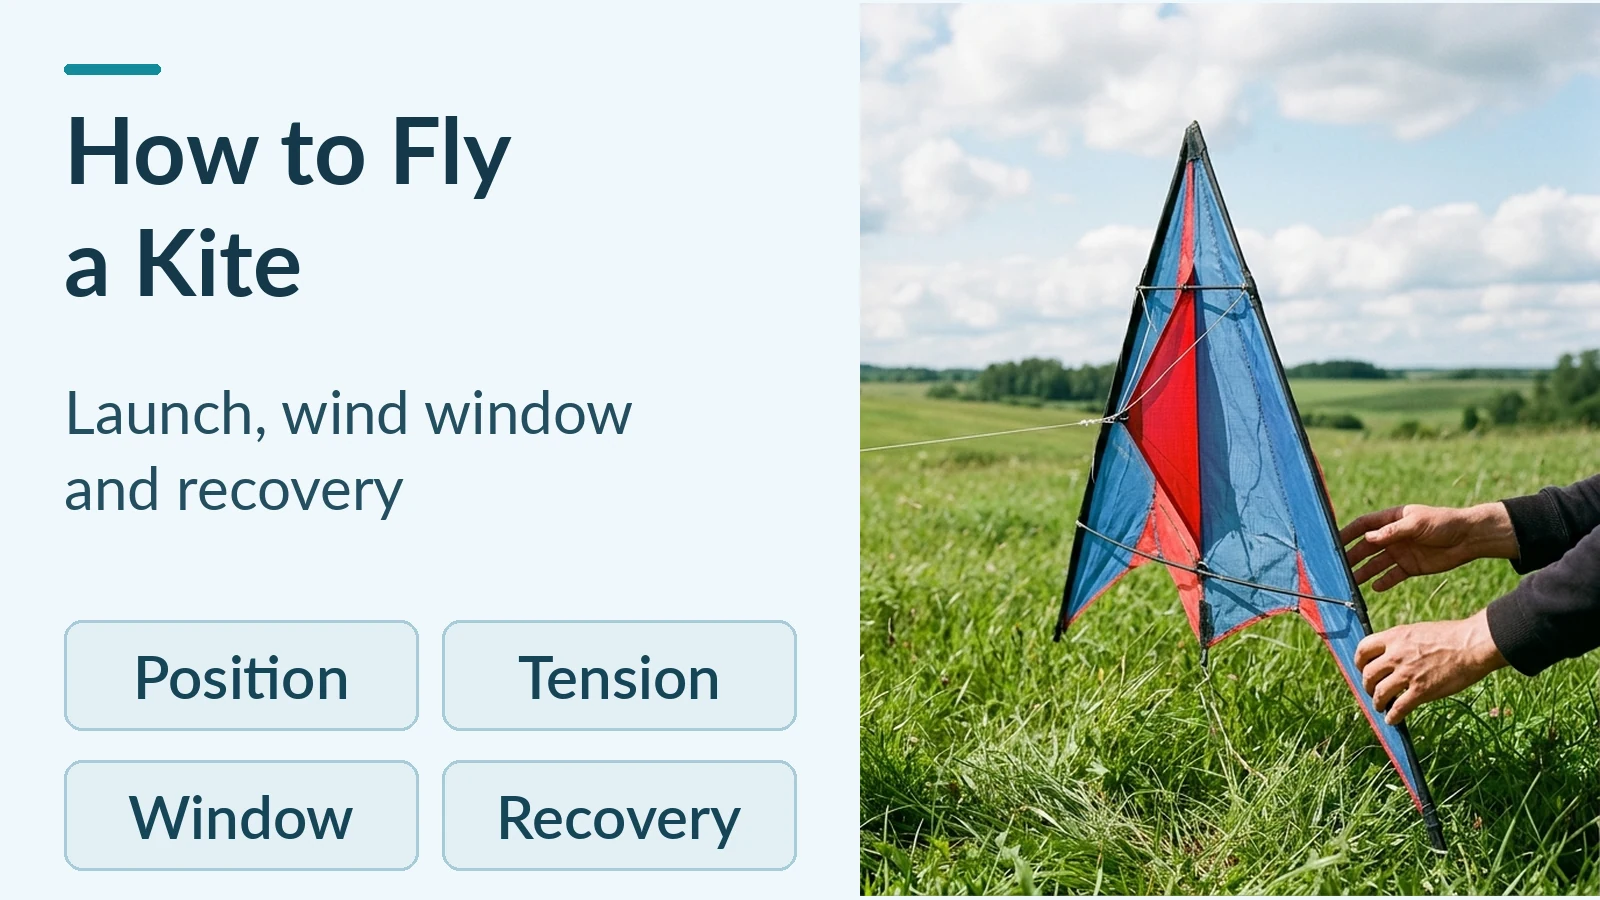
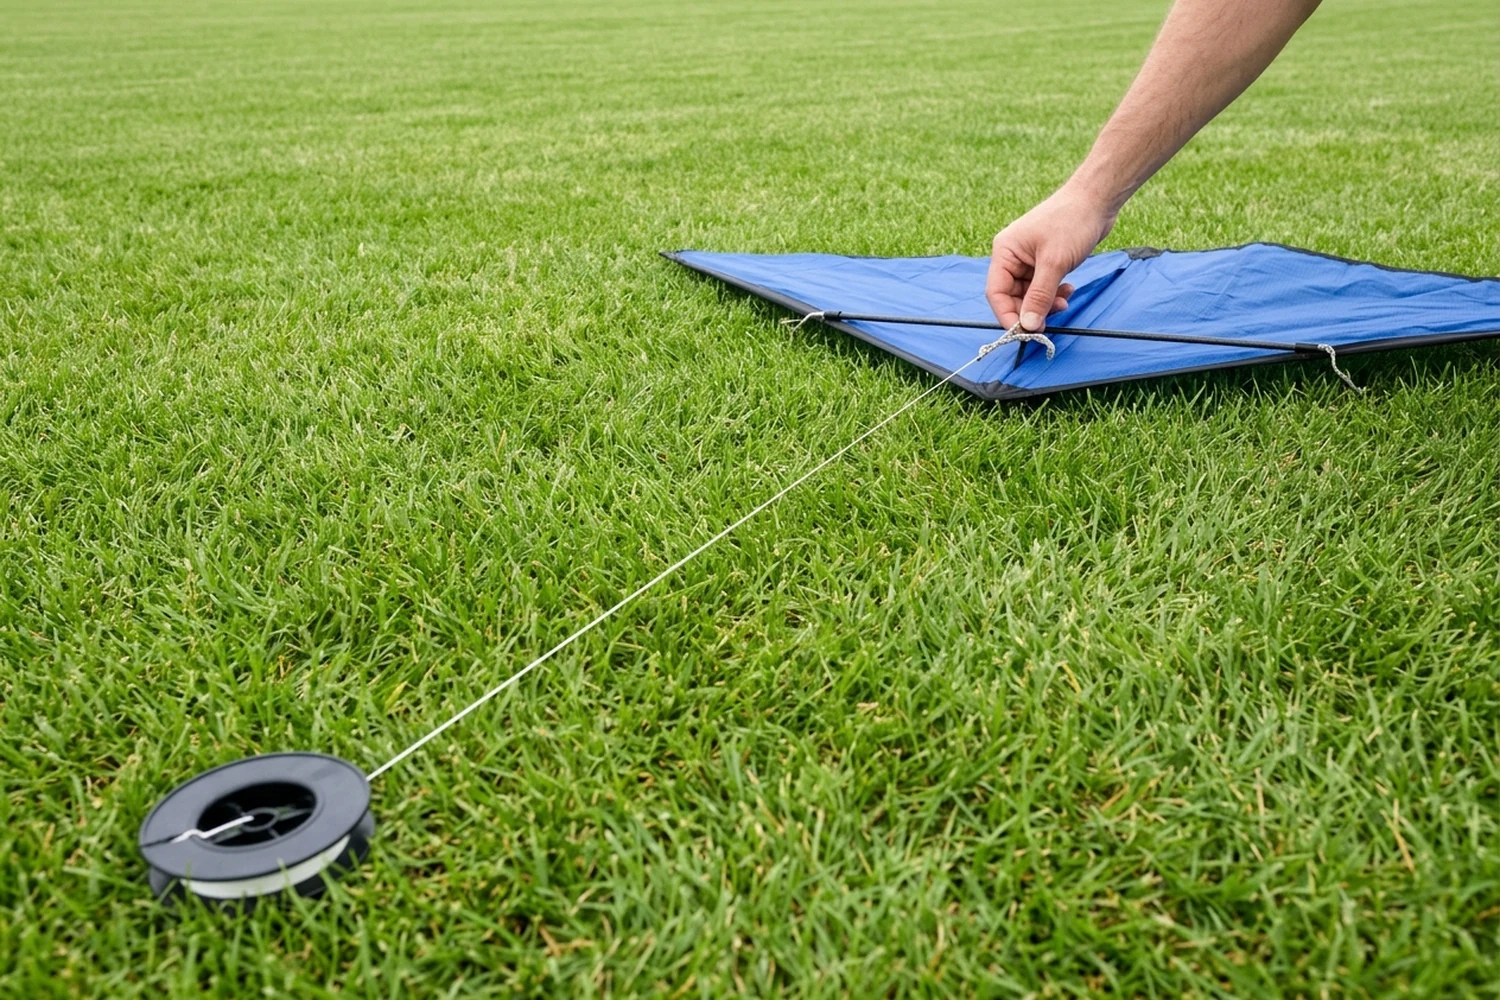
For the single-line launch, stand with the wind behind you and the kite in front, facing into it. Check the frame and bridle against its instructions. For an assisted launch, the American Kitefliers Association describes a helper holding the kite downwind and releasing on command; use your maker’s holding position and agree on that signal. Keep the line clear of bodies and the ground free of loose coils. The helper should release rather than throw the kite.
Check where the kite and line could fall before unwinding more line. NASA’s kite safety guidance excludes power lines, roads and houses from suitable flying surroundings. If you hear thunder, stop and seek indoor shelter: the National Weather Service says there is no safe outdoor place when thunderstorms are nearby. Observe local flying-site and airspace restrictions before launch.
If choosing a kite is the remaining problem, compare the single-line kite types. For conditions, use the kite-flying wind-speed guide rather than a general “good breeze” rule.
Let a single-line kite climb before feeding more line
Establish lift with controlled tension, then release line in small amounts while the kite continues to pull. In NASA’s launch explanation, a small tug can launch a kite in sufficient wind; moving upwind can supply extra relative airflow in lighter wind.
- Bring the line just taut with the kite correctly oriented downwind.
- Release the kite, or signal the helper to let go, and apply a smooth pull as its nose points upward.
- Once it climbs with steady pull, feed some line without letting it run freely.
- Pause the release if the kite sinks or the line goes slack; regain controlled tension and reassess the airflow.
Check behind you before any backward movement. An unobstructed recovery path matters as much as the launch patch. If the kite repeatedly falls back, return it to the ground and inspect its setup and the conditions rather than continuing to pull harder.
Understand the wind window before trying a sport kite
The wind window is the downwind area a tethered kite can fly through; its centre and edges do not produce the same pull. Prism’s Tantrum manual describes stronger pull through the central power zone and reduced speed and pull at the edges. The top of the window, above the pilot, is called the zenith.
A single-line kite normally finds its own flying position. You do not steer it around this window with separate left and right inputs. A dual-line kite responds to differences between its lines, so a launch with unequal inputs can immediately become a turn.
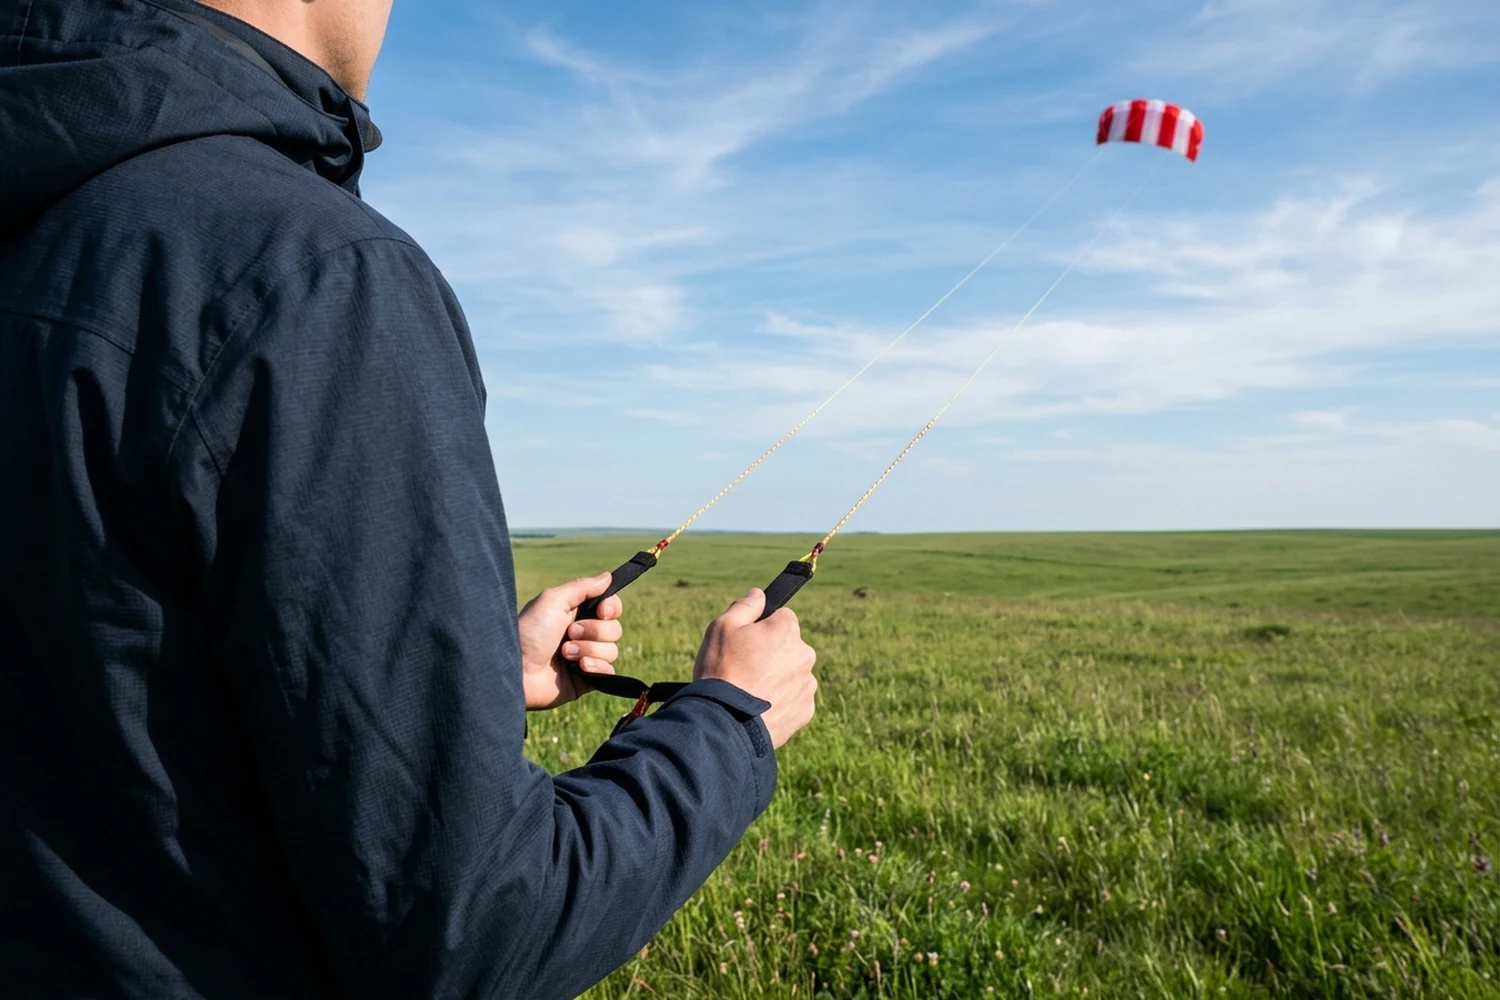
For its Synapse dual-line foil, Prism’s manual specifies a directly downwind launch, lines under tension, a backward step with a paired arm sweep, and hands returned evenly in front. Follow that kite’s manual; a bar-controlled foil or a framed sport kite may have different setup and release procedures. The lower pull available at an edge is not a universal instruction to launch every beginner kite there.
| Situation | Control choice | Dominant Failure Mode & Prevention |
|---|---|---|
| Single-line kite, barely lifting | Pause line release; restore gentle tension with the kite upright | Slack release lets it sink; feed line after a sustained climb |
| Dual-line kite, initial climb | Use the maker’s launch position and balanced inputs | Unequal input starts a turn near the ground; inspect line setup and keep inputs even |
| Sport kite at a window edge | Anticipate slower flight and less pull | Continued outward travel can end in a loss of flying shape; turn while the kite still responds |
| Repeated failure in otherwise suitable wind | Inspect setup and move away from disturbed airflow | Repeated relaunches leave the cause unresolved; correct the field or equipment problem first |
Recover from a stall by identifying what stopped working
Recover line tension and usable airflow before asking the kite to climb again. Here, “stall recovery” means responding to a kite that stops flying normally; a sagging line alone does not identify an aerodynamic angle-of-attack stall.
For a single-line kite sinking upright, stop feeding line and take in slack smoothly. If there is clear space behind you, a controlled step upwind may restore airflow. If it is diving or spinning, or the pull becomes difficult to control, bring it down and inspect the bridle, frame and wind conditions instead of treating every descent as a lull.
For a dual-line foil slowing near an edge, use a small steering input back toward the usable window while it still responds. Prism’s Tantrum guidance recommends turning before the kite stops and maintaining tension in light wind. If the sail collapses or the lines snag, stop the manoeuvre and reset on the ground; inspect for tangles before relaunching.
Rules-of-Thumb: If
observed wind speed − the maker's minimum wind speed < 0 m/sduring a sustained lull → choose retrieval and a later relaunch, because launch movement supplies temporary relative airflow, not a lasting wind supply. This is a rating-based screening rule, not an instrumented stall detector.
Why a backward step can help briefly
Moving upwind increases relative airflow in a simplified straight-line launch. NASA’s launch page explains the relative-motion principle; its kite aerodynamics page gives the square-law relationship between airflow speed and lift.
Formula: V_relative ≈ V_wind + V_upwind motion; with air density, sail area and lift coefficient fixed, lift ratio = (V_relative,new / V_relative,old)².
Worked example — assumptions: take 3 m/s wind along the motion direction and 1 m/s kite motion upwind from the pilot’s pull. Then V_relative ≈ 3 + 1 = 4 m/s, and the ideal lift ratio is (4/3)² ≈ 1.78. These are illustrative inputs, not a model’s operating rating. Line stretch, changing kite attitude and motion in other directions break the simple estimate. Stopping the movement removes that added airflow; it does not create a no-wind hovering capability.
Retrieve without creating the next launch problem
Bring the kite down while you still have comfortable control, then wind its line onto the winder without loose piles. For a single-line kite, take in line steadily and use a helper if the kite’s manual calls for one. For the Synapse dual-line foil, the maker describes steering out to a side until it settles, then securing the kite before winding.
Line wear, crossed lines and repeated ground impacts can turn the next outing into another setup repair. Keep the single-line versus dual-line string guide with your equipment checklist, and inspect worn line before packing it for reuse. Choosing compatible line and storing it neatly reduces avoidable interruptions across the kite’s life.
Method and sources
Launch physics and the airflow example follow NASA Glenn’s public kite pages. Single-line helper launch and sink/spin signs follow the American Kitefliers Association. Site selection, dual-line launch and wind-window behaviour follow Prism’s public basics and Synapse/Tantrum manuals, with the relevant control system identified beside the instructions. Weather and safety checks use NASA and the National Weather Service; this guide does not derive legal flight limits from a line length. The airflow calculation labels its assumed inputs and fixed conditions. Sources accessed October 19, 2026.
Updated October 2026.
References & Sources
- How to Fly a Kite: single-line launch procedures — American Kitefliers Association
- Kite Launch and Flight — NASA Glenn Research Center
- Aerodynamics of a Kite — NASA Glenn Research Center
- Kite Flying Basics — Prism Kites
- Synapse Pilot's Guide — Prism Kites
- Tantrum Manual: the wind window — Prism Kites
- Kite Safety — NASA Glenn Research Center
- Beaufort Wind Scale — National Weather Service, Miami
- Lightning Safety — National Weather Service