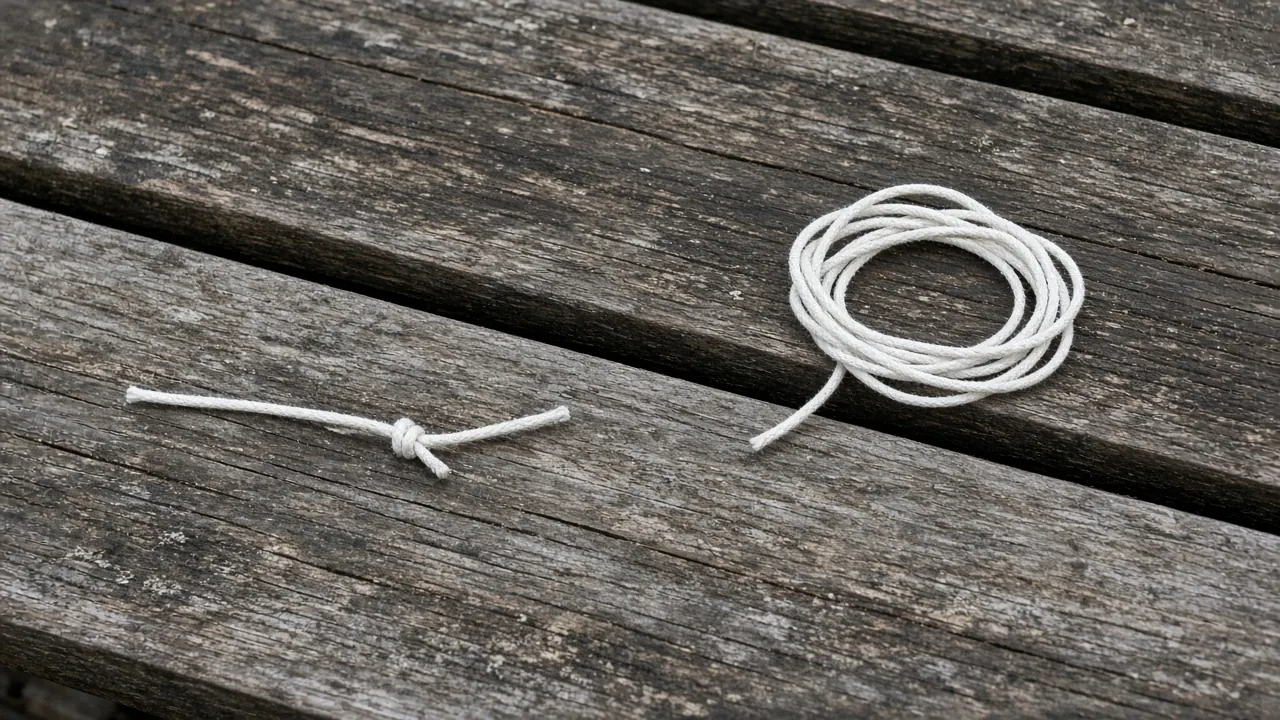
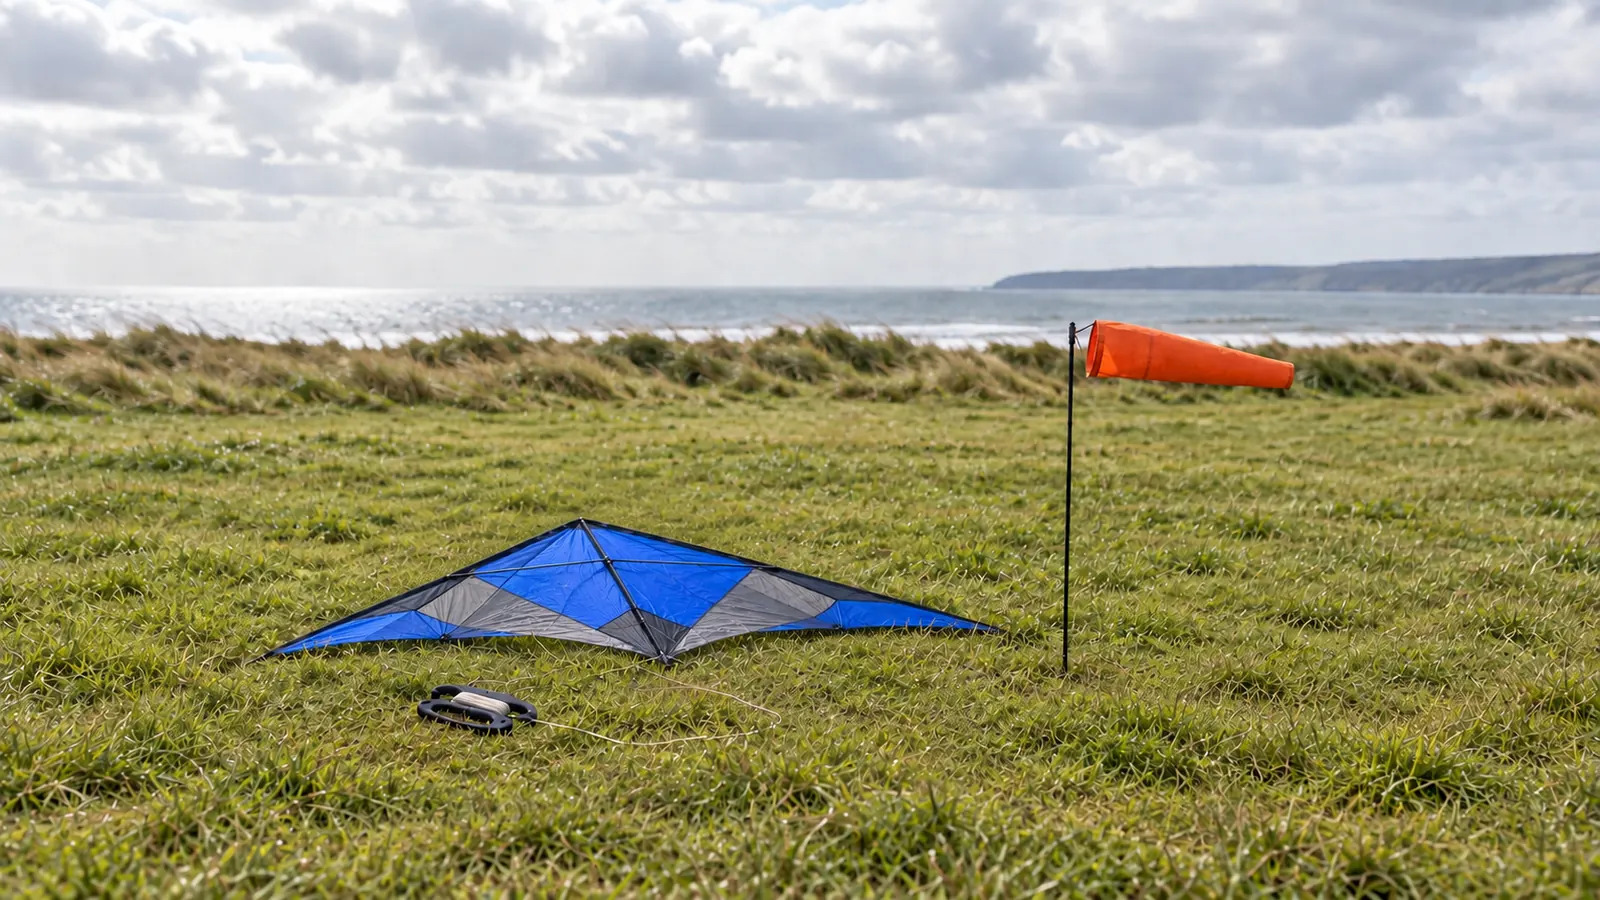
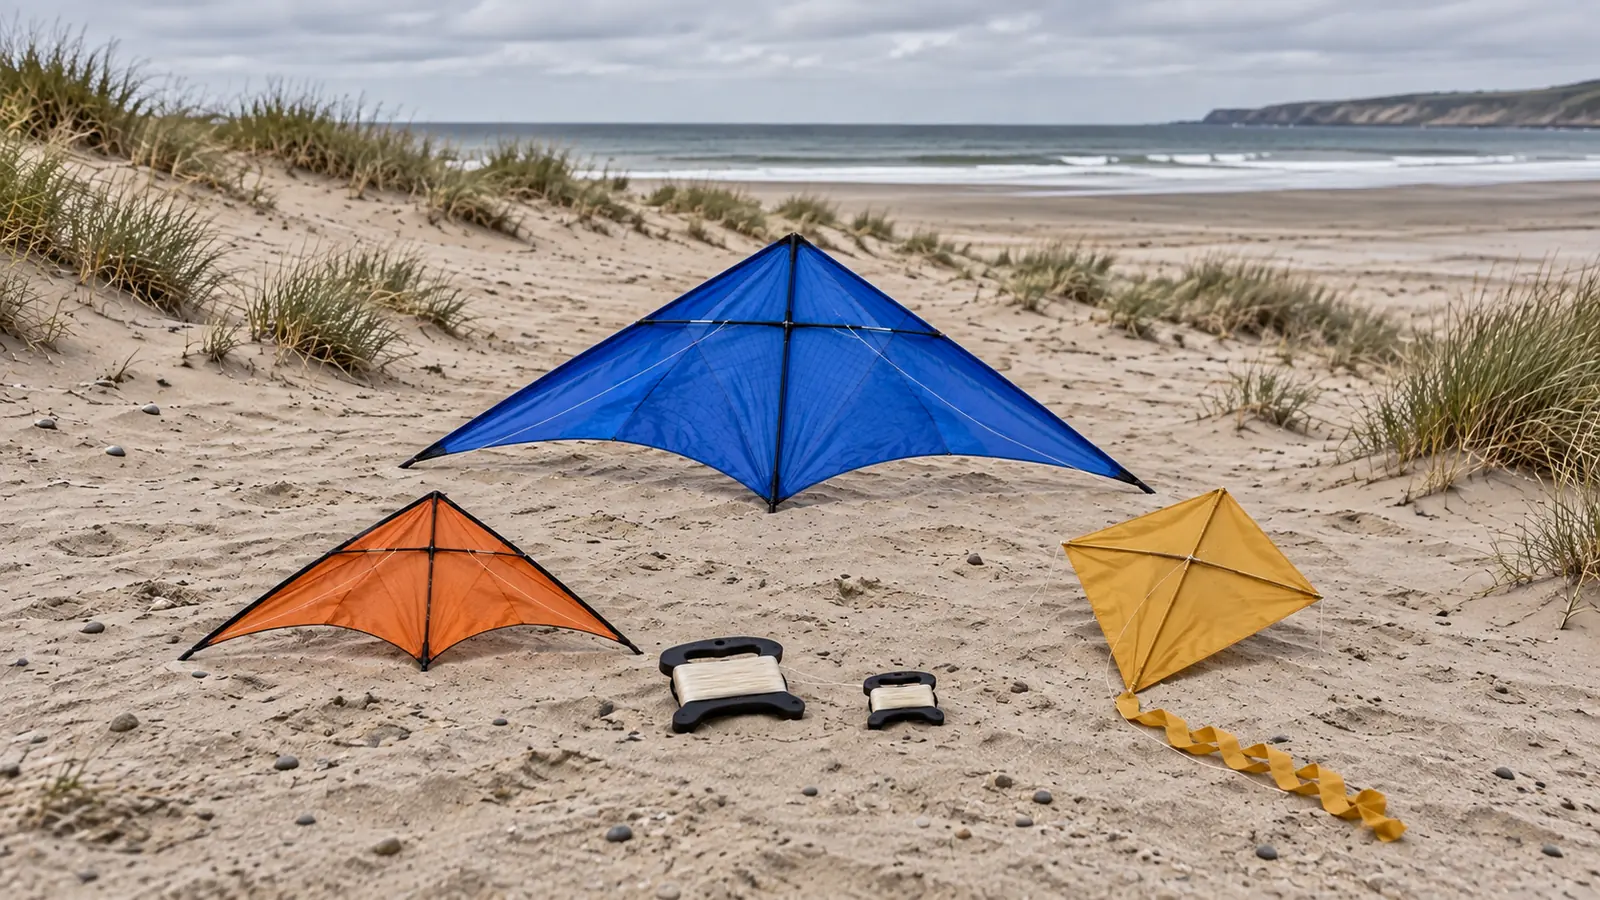
Moving a bridle before checking the setup can leave you with a new setting and the original fault. Start kite bridle adjustment by identifying the kite and its documented adjustment points, then check assembly, tangles and flying-line balance before changing anything.
Record the original setting before moving any adjustable bridle point. This guide gives recreational kite owners an identification table, a stop-or-proceed sequence and a copyable adjustment log. It does not supply replacement bridle dimensions or kiteboarding tuning instructions.
- Find the model first. A sliding pigtail, a center fitting and a foil’s branching cords are different things to inspect.
- Separate correction from tuning. Untangling a cord or correcting a flying line is a different job from moving a tow point.
- Keep the return setting. If you cannot identify both the authorized adjustment and its starting position, leave it alone.
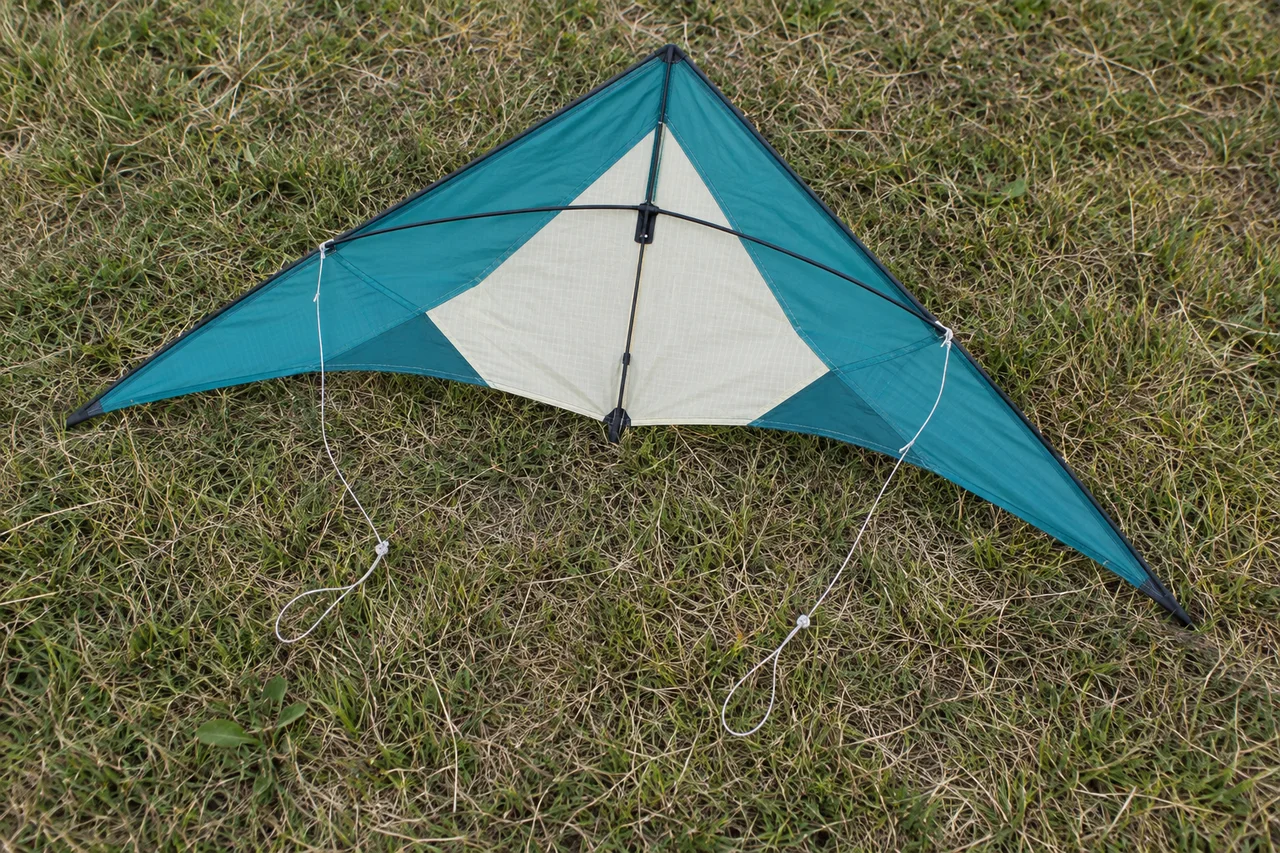
Identify which bridle is in front of you
Count the flying lines running back to the flyer separately from the short cords attached to the kite. Use the kite type and parts guide if you need to distinguish the frame, bridle and control lines.
The table is an editorial sorting aid. Its final column tells you what to look up; it does not authorize moving a knot merely because it looks movable.
| What you can see | Setup to investigate | What must be confirmed before tuning |
|---|---|---|
| One flying line meeting a short bridle or tow fitting | Single-line kite | Exact model, whether the tow point is adjustable, and the maker’s reference position |
| Two flying lines meeting left and right bridle assemblies on a rigid frame | Framed dual-line sport kite | Which fittings adjust, which marks are references, and how the manual matches the two sides |
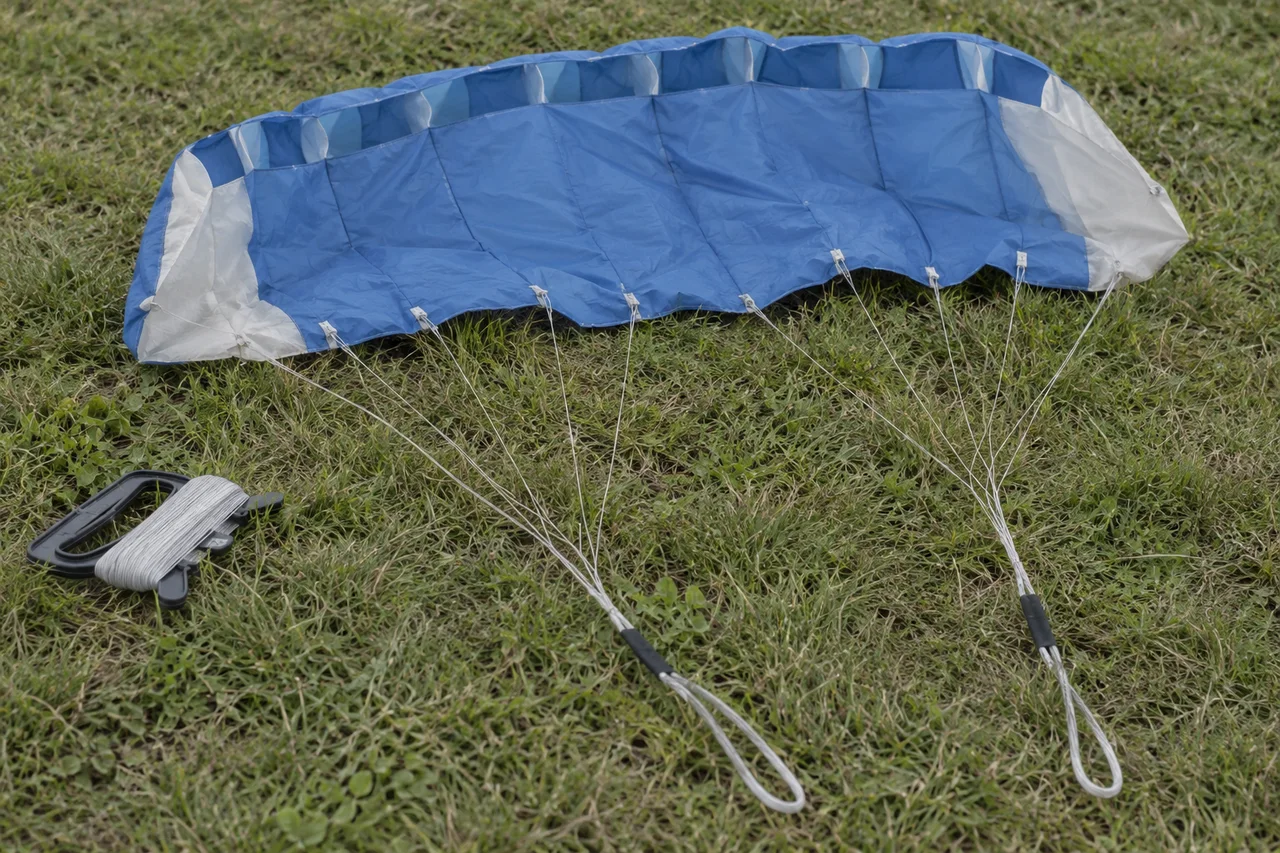
| A soft wing with many short cords branching from sewn attachment points | Foil with a multi-leg bridle | Whether any adjustment is intended for the owner; do not infer this from the presence of knots |
| Four flying lines, an unfamiliar fitting, or a partly dismantled assembly | Model-specific system | Exact manual or maker’s help; this page supplies no conversion or replacement lengths |
A fixed multi-leg bridle belongs in the inspection branch of this guide, not the trial-adjustment branch. Our recommendation is to keep its factory leg lengths intact unless the exact manual gives an owner adjustment. Do not make all the short cords equal just because the two long flying lines should match.
If the immediate problem is where to connect the flying line, use the bridle, clip and pigtail attachment guide before considering tuning.
Rule out setup faults before changing a tow point
Work with the kite grounded and follow its own setup instructions. Into The Wind’s stunt-kite setup guidance, accessed October 16, 2026, calls for fully seated spars, untwisted bridles at the fittings, and symmetric attachment loops or clips.
For the soft dual-line Synapse, Prism’s troubleshooting guide, accessed the same day, lists tangled bridles and unequal flying lines among the checks for a kite turning to one side. It also identifies insufficient or disturbed wind as reasons a kite may struggle to climb. These checks explain why moving the bridle is not the first response to every flight problem.
Use this order as an editorial checklist:
- Assembly and condition: compare the grounded kite with its manual. If a fitting is loose or a component is damaged, resolve that before a tuning trial.
- Cord routing: trace each bridle cord to its attachment. Compare it with the manual’s routing rather than pulling on a tangle until it looks shorter.
- Flying lines: check the long control lines by the model’s procedure. The Synapse manual makes its length correction at the adjustable wrist strap; that is separate from changing bridle legs.
- Conditions: compare the day’s wind with the model instructions. The wind-speed guide helps you read a forecast, but it does not enlarge the kite’s published range.
- Remaining symptom: write down what still happens after those checks. “Veers left with hands even” is a more useful record than “flies badly.”
If correcting one of these faults resolves the symptom, keep the existing bridle setting. There is no need to create a tuning experiment merely to fill out the log.
Why adjustment directions belong to the model
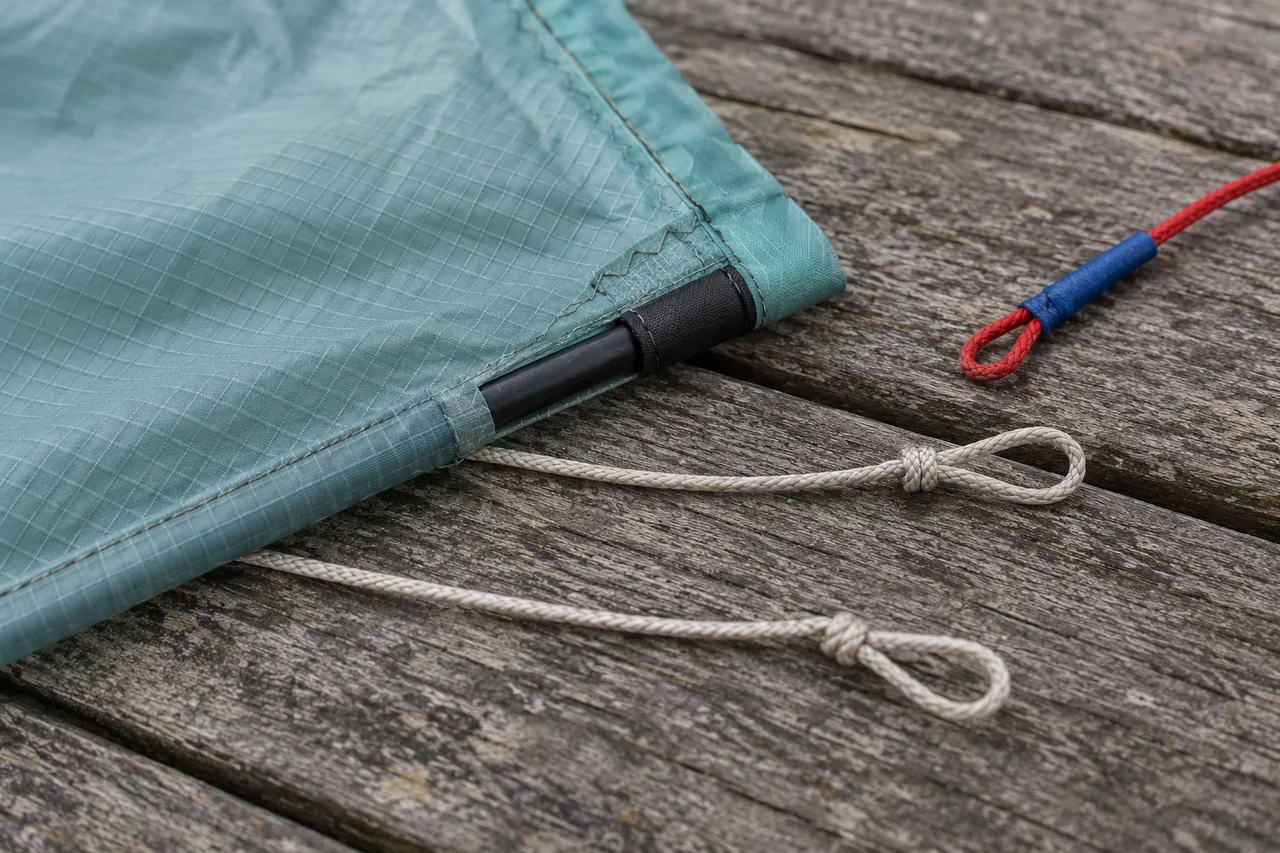
Two manufacturer examples show the limits of a generic instruction such as “move the knot up.” Name the part, the direction and the model together.
Framed dual-line example: Prism Synthesis SUL
The Synthesis SUL manual, accessed October 16, 2026, recommends getting familiar with the factory setup first. Its red and blue pigtails slide along the outer bridle legs between limiting knots. For this model, Prism specifies movement toward the nose in the lightest winds and away from the nose in winds approaching 8 mph. It gives a starting increment of 1/2 inch and instructs the flyer to capsize and tighten the knot after moving it.
The same manual describes a separate Center T adjustment that moves tow points laterally toward or away from the spine. That is a different variable from sliding the outer pigtails. Do not combine both changes in your first comparison, or borrow the SUL’s increment for an unidentified kite.
Single-line example: Horvath zero-wind designs
Horvath’s bridle setup page, accessed October 16, 2026, describes its two-point single-line zero-wind system. It associates a lighter setting with agile active flight in no wind and a heavier setting with higher, more static flight in some wind. Those terms describe that design and flying style; they are not wind-speed ratings for every single-line kite.
For your kite, the adjustment direction, allowable range and increment remain Unknown / verify on the unit until its instructions identify them. The useful comparison between these examples is the need for a matching manual, not a shared nose-or-tail rule.
Keep a baseline and change one variable
The recording method below is our editorial recommendation. It is not a factory tuning specification or a report of flight tests.
Before loosening anything, photograph the complete grounded setup and close views of the reference marks and fitting positions. Include both sides where applicable. Record the manual section and the setting you actually found; do not rename an unknown previous owner’s setting “factory.”
Copy this record into a notebook or notes app. Leave unobserved values blank rather than estimating them.
| Baseline item | Your record |
|---|---|
| Kite model and version | __________ |
| Manual title, section and date checked | __________ |
| Symptom remaining after setup checks | __________ |
| Original setting and photo filenames | __________ |
| Exact adjustment permitted by the manual | __________ |
| Direction, increment and limits from that manual | __________ |
| Wind conditions and flying-line setup | __________ |
Then record each comparison separately:
| Trial | One adjustment, including side(s) and amount | Conditions / other changes | Observed result | Kept or reset to baseline? |
|---|---|---|---|---|
| Baseline | No tuning change | __________ | __________ | __________ |
| Next comparison | __________ | __________ | __________ | __________ |
Treat a paired adjustment explicitly required by the manual as one setting change, and record both sides. Keep other adjustable features at their recorded positions. If conditions change substantially, note that before attributing a different flight response to the bridle. An uncertain comparison is a reason to repeat later, not proof that the new setting is better.
After an authorized adjustment, complete the manual’s securing and pre-flight checks. If you cannot restore a photographed setting confidently, stop experimenting and ask the maker or a model-experienced repairer to identify it.
Stop or proceed: choose the next action
Follow these branches in order:
- Model or manual unidentified? Stop at identification. Keep photos of the whole kite and the fittings; do not select a direction from a different kite’s tutorial.
- Damage, incomplete assembly or a tangle found? Resolve that issue first, then inspect again. It is not a bridle tuning result.
- Flying-line or wind issue remains? Address that by the appropriate model instructions before comparing bridle settings.
- Fixed bridle, missing reference, or no documented owner adjustment? Leave the leg lengths and knots unchanged and obtain model-specific guidance.
- Documented adjustment, intact setup and recorded baseline? Follow that manual’s limits, record one setting change, and compare before keeping it.
- Poorer or unclear result? Return to the recorded baseline if you can do so confidently. Stop if the setting cannot be identified or secured as instructed.
The successful outcome may be leaving the bridle untouched. The aim is to know which adjustment applies, why you are making it and how to return to the prior setting.
Method and sources
This guide compares public manufacturer and retailer instructions accessed October 16, 2026. Model-specific statements link to the original pages above and in References. The sorting table, inspection order and blank log are editorial aids; no kite was flown or performance measured for this article. Factory bridle dimensions, unidentified settings and universal adjustment directions are deliberately left unspecified.
References & Sources
- Synthesis SUL Manual — Assembly, Bridle Pigtails and Center T — Prism Designs
- Synapse Manual — Troubleshooting and Equalizing Your Flying Lines — Prism Designs
- Setup of the bridle on single line kites — Horvath
- Stunt Kites 101 — Setting Up Your Stunt Kite — Into The Wind