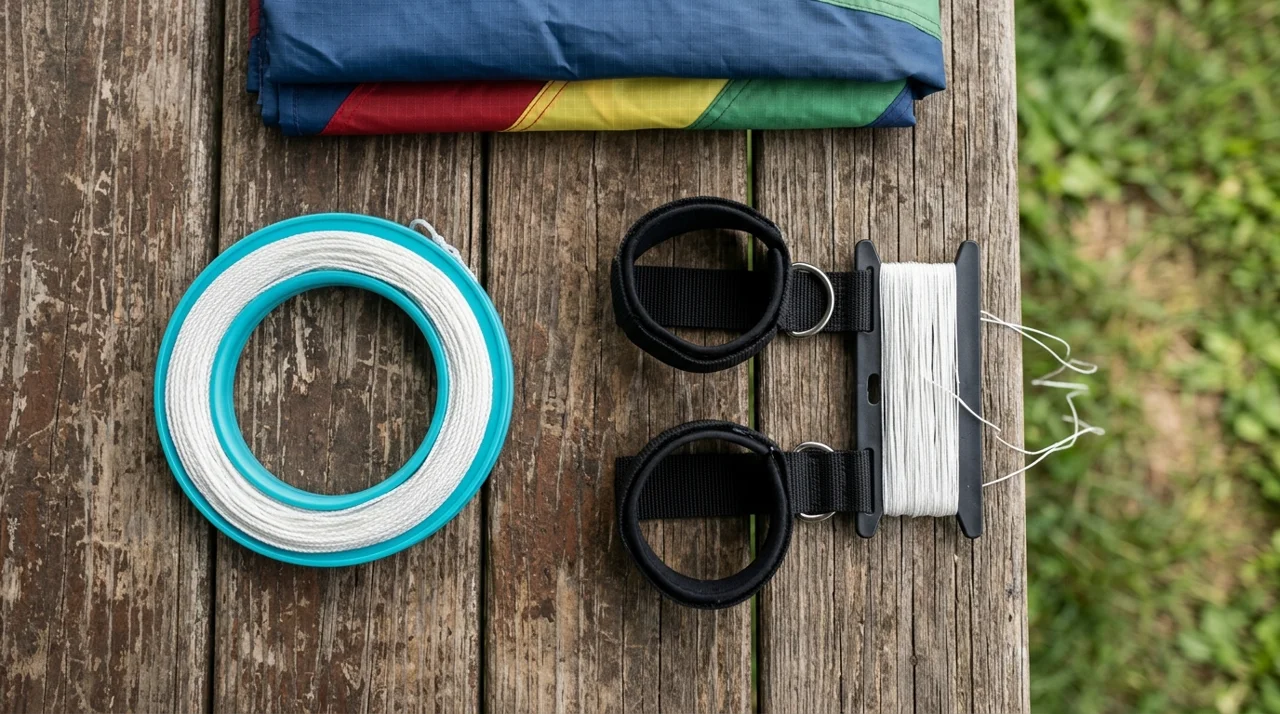
Keeping a two-line kite tangle free comes down to one field rule: your flying lines should either be completely wound onto their winder or stretched out in a straight line from the wrist straps to the kite. Dropping slack line into a loose pile at your feet, dragging lines across the grass, or coiling them around an elbow causes ground knots that waste flying time and can damage braided line fibers.
No winding routine eliminates every twist during active flight, because every loop wraps the two lines around each other. What good line discipline prevents is the slack-line birds’ nest on the ground.
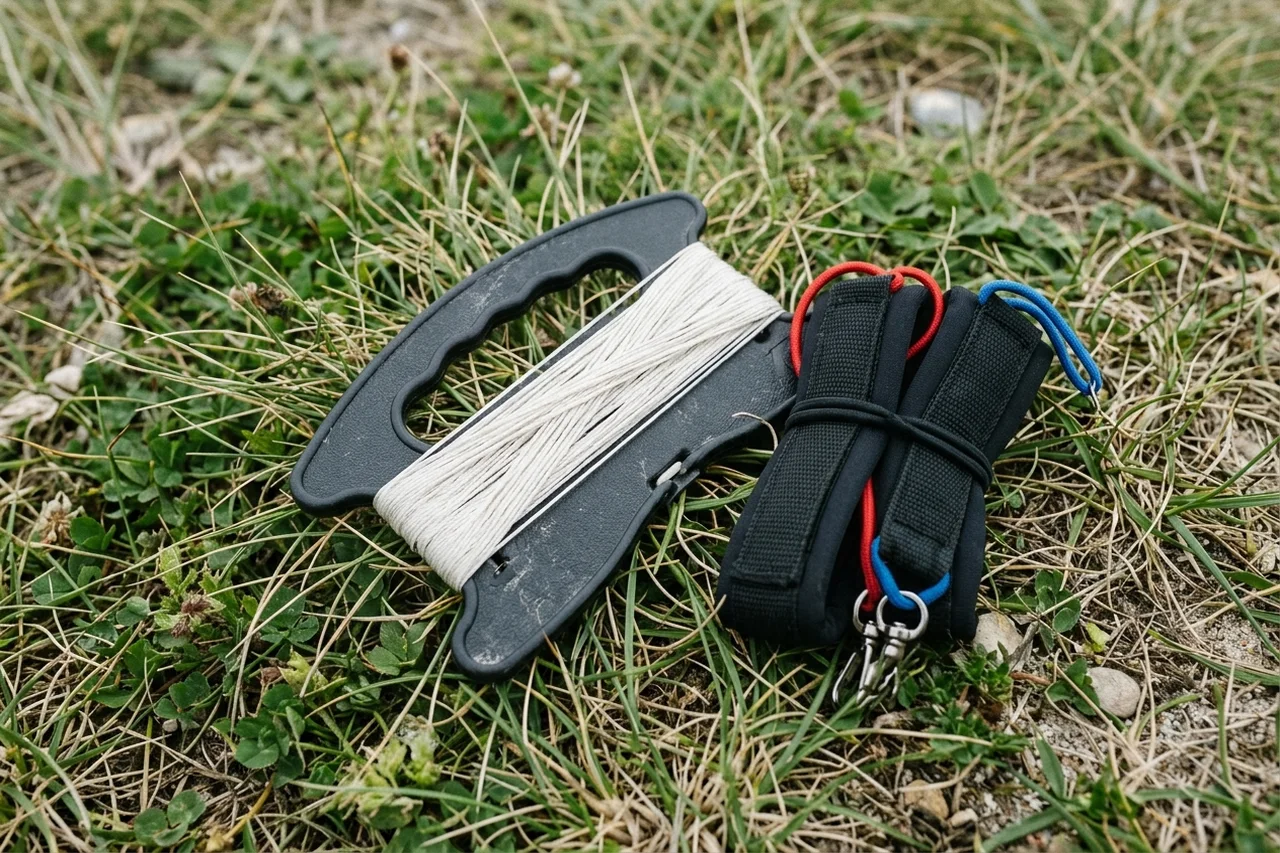
Is it a harmless flight twist or a ground tangle?
New dual-line pilots often land in a panic the first time their flying lines cross in midair. Both Prism’s Synapse manual and Into The Wind’s Stunt Kites 101 guide, checked 17 October 2026, distinguish between in-flight line twists (where taut lines wrap around one another during loops) and slack-line tangles or knots on the ground.
| Line condition | Where it happens | What you see and feel | Immediate field fix |
|---|---|---|---|
| In-flight axial twists (wraps) | In the air after repeated loops or turns in one direction | The two taut lines spiral around each other between the straps and the kite; steering still works in both directions | Stay in the air and fly the same number of loops or turns in the opposite direction until the lines run parallel |
| High-count twist friction (~10+ wraps) | In the air after many one-way loops (or earlier on higher-friction polyester lines) | Noticeable rubbing friction as the lines slide past each other; steering feels sluggish | Unwind by looping the opposite way in flight, or land with the lines kept taut and walk from the kite to the straps to uncross them |
| Pre-launch crossed left/right lines | On the ground before takeoff | Left wrist strap leads to the right tow point (or red and blue straps are swapped); pulling right steers left | Keep lines stretched out on the ground, walk from the kite back to the straps running both lines between your fingers, and put the right strap in your right hand |
| Bridle wrap at the wingtip or tow point | On the ground during unfolding or after a nose-in landing | A bridle leg is looped over a wingtip, spar tip, or opposite bridle leg near the sail | Weight the kite on the ground and clear the bridle legs before walking back to tension the flying lines |
| Ground slack tangle or overhand knot | On the ground when line is piled at the feet, dragged, or coiled by hand | Loose loops snagged around grass, straps, or each other; pulling the ends tightens a knot | Never yank the ends; lay the bundle on a flat surface, loosen the outer loops first, and pass the wrist strap back through the open loop |
Takeaway: If both lines are under flight tension and wrapped around each other like a barber pole, you do not have a knot—fly opposite loops to unwind them. If slack line has looped through itself on the ground, stop pulling immediately before the loop cinches into an overhand knot.
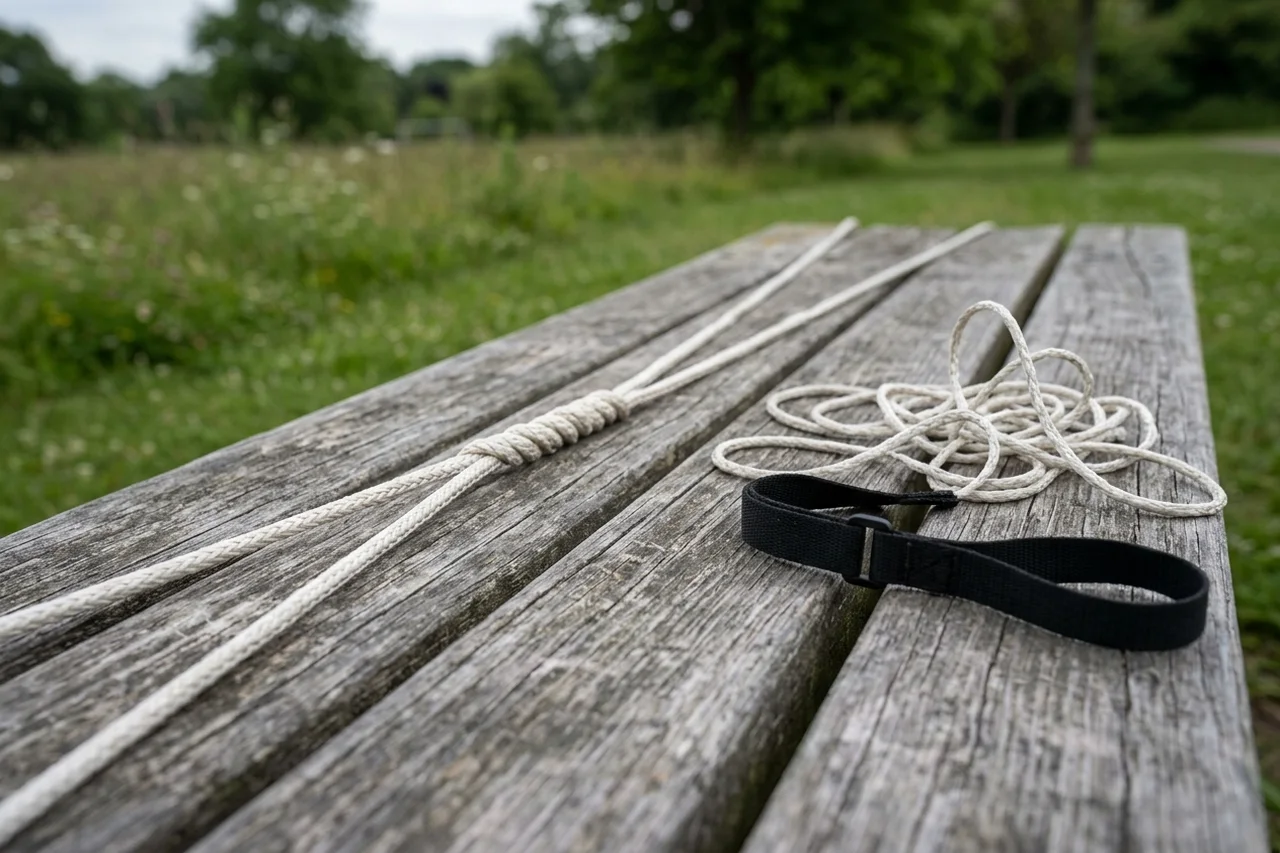
Why line material changes how many twists you can ignore
In Into The Wind’s Stunt Kites 101, the retailer notes that lower-cost braided polyester lines have higher surface friction and more stretch, so just a few twists can bind the lines enough to interfere with control. Low-stretch ultra-high-molecular-weight polyethylene lines (sold as Spectra or Dyneema) are slick enough to keep sliding past each other through multiple wraps.
Prism’s Synapse manual gives a concrete benchmark for its stock lines: after around 10 twists, you will start to feel friction as the lines slide past each other. If you are comparing replacement sets or checking whether your kite uses polyester or Dyneema/Spectra, see our single-line vs. dual-line kite string materials guide. If you are still identifying whether your kite uses two control lines or a quad-line handle set, check single-line, dual-line, and quad-line stunt kites compared.
The two-state rule that prevents ground tangles
In A Field Guide to Repairing Your Stunt Kite (2009, p. 20) and its online Kite Flying Basics page, Prism states the core rule plainly: flying lines should always be either completely wound onto their winder or making a straight line from the wrist straps to the kite on the flying field.
Nearly every severe two-line tangle starts when a flyer breaks that two-state rule in one of four ways:
- Unwinding line into a loose pile at your feet. Standing in one spot and stripping line off the winder drops overlapping coils onto grass, weeds, or pebbles. The moment the kite catches wind, those coils cinch around whatever they touch.
- Walking toward the kite while holding the straps and dragging the lines. Carrying the wrist straps toward a landed kite pulls slack loops across the turf behind you. Always set the straps flat on the ground—or pin them with a ground stake—before walking toward the kite.
- Coiling lines around your elbow like garden hose or climbing rope. Every circular loop wrapped around an elbow and hand puts half a turn of axial twist into the braided line. When pulled off the coil later, those twists turn into springy pigtails that grab each other.
- Pulling a loose tangle tight to see where it goes. As KiteKits’ line-tangle guide notes, yanking on a snag locks a loose loop into a hard knot. In thin braided kite line, a tight knot cuts the line’s breaking strength and leaves a bump that can saw through the opposite line during a twist.
How to unwind and set up a two-line kite without twists
Proper tangle prevention starts before the kite leaves the ground. Follow this upwind payout sequence from Prism’s Synapse manual and Into The Wind’s setup instructions:
- Stand with the wind at your back and unfold the kite downwind. Lay the kite on its back with the nose pointing up into the wind. Weight the bottom (trailing) edge with sand, smooth stones, or a water bottle so the sail cannot blow away while you handle the lines.
- Verify that the bridle runs clear before touching the winder. Check that none of the thin bridle lines are looped over a wingtip or twisted around each other. If a bridle fitting looks shifted or uneven, inspect it first using our kite bridle inspection and tuning guide.
- Confirm the flying lines are attached with equal Lark’s Head loops. Most ready-to-fly dual-line sets stay attached to the kite’s bridle tow points between sessions. If your lines were detached, connect each sleeved loop to its matching bridle pigtail with a Lark’s Head knot as shown in how to attach kite string to a bridle or pigtail.
- Walk upwind while paying both lines off the winder together. Unhook the elastic keeper cord from the winder notch, hold the winder in front of you, and walk straight upwind toward your flying position. Rock a flat winder gently from side to side so both lines flow off the horns smoothly rather than spinning off one end, until the full set (typically 60 to 100 feet depending on the kite model) lies straight on the ground.
- Run a finger check from kite to straps if the lines look crossed. Before launching, make sure the right flying line leads cleanly to your right hand (on Prism line sets, the red strap goes in your right hand and the blue strap in your left). If the lines were put away with twists from the last flight, leave the straps pinned on the ground, walk to the kite, pick up both lines between your fingers, and walk back to the straps to push all twists out the handle end.
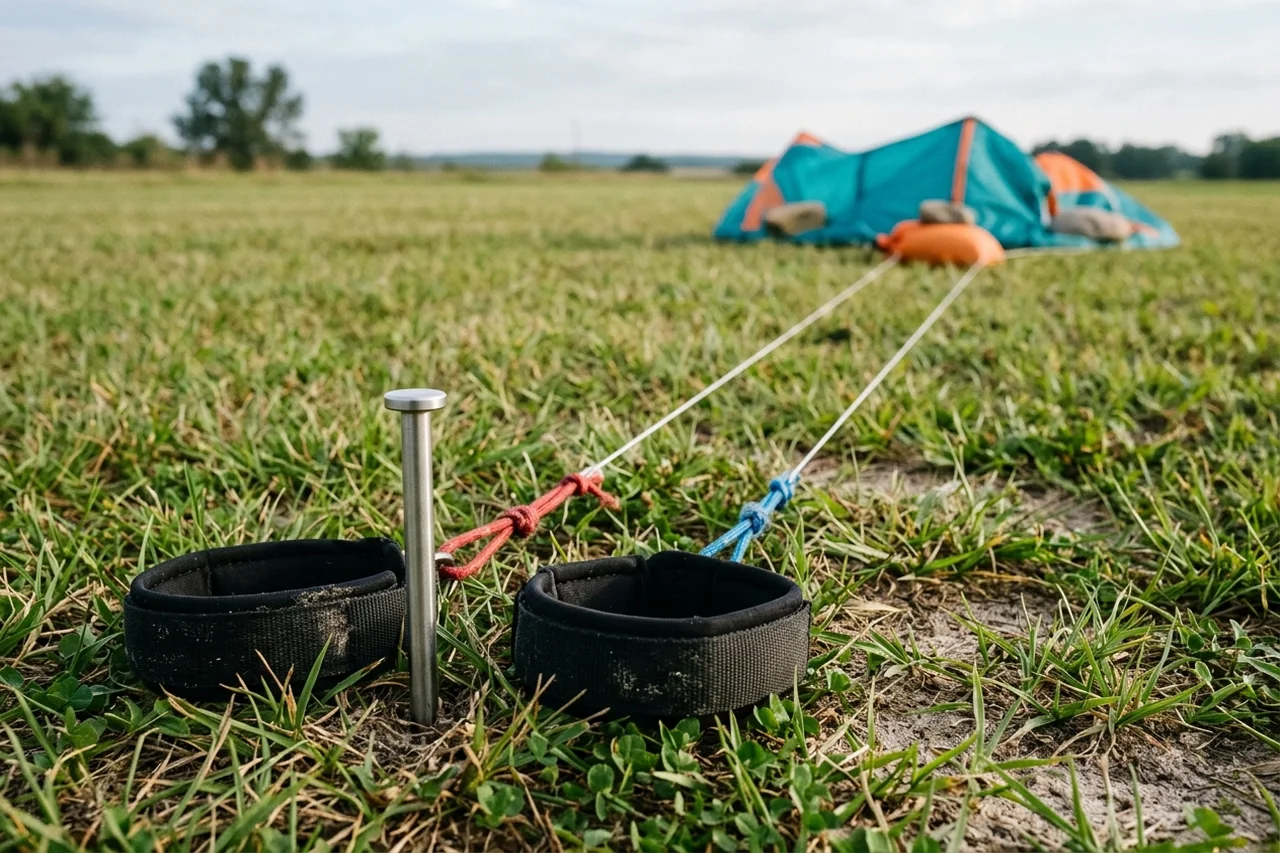
Takeaway: Never pay line out while standing still. Always anchor the kite first and walk upwind as you unwind so both lines stay under light, straight tension on the ground.
Step-by-step: paired figure-eight winding on a flat winder
When you finish flying, winding both lines onto the winder together in a figure-eight pattern is what keeps the left and right lines at identical tension and prevents circular spool twist.
Do not confuse figure-eight winding with a figure-of-eight knot:
- Figure-eight winding is the figure-8 wrapping path around the two horns of a flat plastic winder (or across two rigid handles held together).
- A figure-of-eight knot is a stopper knot tied in the end of a single pigtail or leader cord so a Lark’s Head loop cannot slide off.
The 3-step factory figure-eight winding sequence
Both Prism’s Kite Flying Basics and the Synapse manual specify this three-step procedure:
- Anchor both wrist-strap cords in the winder slot. Leave the kite weighted on the ground at the downwind end of the field with the lines stretched straight. At the pilot end, hook the colored leader cords from both wrist straps through the center slot in the flat winder to anchor both lines in place.
- Hold both flying lines together and wrap in a figure-eight as you walk toward the kite. Guide both lines side by side with one hand and wrap them around the winder’s upper and lower horns in an alternating figure-8 cross pattern. Walk slowly toward the kite as you wind so the lines never drag across the ground; let the lines stay attached to the kite until you reach the bridle.
- Fold the wrist straps over the bundle and lock the elastic cord. Once you reach the kite and all flying line is on the winder, fold both padded wrist straps neatly over the wound lines. Pull the attached elastic bungee cord around the winder and slip its knot into the notch on the winder handle so the loops cannot slip off the horns inside your kite bag.
If your kite uses two rigid stunt handles (or if you only have a flat card winder without a center slot), Into The Wind’s Stunt Kites 101 recommends holding both handles together in one hand and wrapping both lines around the pair in a figure-eight pattern as you walk to the kite.
Pre-launch and post-flight line care checklist
Use this field checklist to keep a two-line set ready for its next launch and catch uneven line stretch before it causes the kite to pull to one side:
| Stage | Field check | Pass standard | What to do if it fails |
|---|---|---|---|
| 1. Downwind sail anchor | Weight trailing edge or foil tail before touching the winder | Kite stays flat on the ground with its nose into the wind | Add smooth rocks, sand, or a water bottle; never unwind while holding an unsecured kite in the wind |
| 2. Bridle clearance | Inspect all bridle legs and tow points on both sides | Bridle lines run straight to the tow rings with zero wraps around wingtips or spars | Unloop any snagged bridle leg before walking upwind with the winder |
| 3. Upwind payout | Walk into the wind while rocking the winder side to side | Both flying lines lie straight on the ground from kite to straps with no loose coils at your feet | Stop walking if a loop catches on the winder horn; lift the loop off gently rather than pulling |
| 4. Equal line length check | Compare left and right line lengths when a kite pulls constantly to one side | Both lines match within 1/2 inch to 1 inch under equal tension (per Prism troubleshooting guidelines) | Adjust the Lark’s Head knot position along the wrist-strap leader cord until both lines match |
| 5. Knot & fray inspection | Run both lines between your fingers during walk-down | Smooth braid with no overhand knots, frayed spots, or melted friction burns | Tease out loose knots gently on a flat surface; replace the line set if fibers are frayed or permanently knotted |
| 6. Sand & salt brush-off | Wipe lines and straps before folding the sail into the bag | No wet beach sand or grit trapped inside the figure-eight wraps | Let wet lines dry and brush off sand; see our kite sand, salt, and storage cleaning guide |
Takeaway: If a two-line kite suddenly pulls hard to one side or refuses to fly straight after you clear a tangle, check line symmetry before blaming the kite frame—uneven line stretch or a slipped wrist-strap knot of more than half an inch to an inch will bias steering toward the shorter line.
Method and sources
This guide synthesizes manufacturer instructions and specialist stunt-kite primers accessed on 17 October 2026, including Prism Designs’ Synapse Manual, Kite Flying Basics, and A Field Guide to Repairing Your Stunt Kite (2009), alongside Into The Wind’s Stunt Kites 101 and KiteKits’ line-handling notes. The diagnostic table and field checklist organize those published procedures for two-line sport kites and dual-line parafoils; four-line traction bars and kitesurfing depower systems use different safety and line-management hardware and are outside the scope of this article. Browse more maintenance and setup guides in the B & S Kites blog.
Frequently Asked Questions
Can you still steer a two-line kite when the flying lines are twisted around each other?
Yes. Turning or looping repeatedly in one direction wraps the two lines around each other in flight, but the lines still slide past one another so left and right steering still works. On Prism dual-line kites such as the Synapse, line friction becomes noticeable after around 10 twists; fly loops or turns in the opposite direction to unwind them in the air.
Why shouldn't you coil dual-line kite string around your elbow or hand like rope?
Wrapping line in circles over your elbow or off the end of a spool adds half an axial twist on every turn. When you pay the lines out on the next session, those stored twists spring into loose helix coils that grab each other and lock into knots before launch.
What is the difference between figure-eight winding and a figure-of-eight knot?
Figure-eight winding is a storage method where you hold both flying lines together and wrap them in an alternating X pattern across the two horns of a flat winder. A figure-of-eight knot is a stopper knot tied at the end of a single leader cord or pigtail so a Lark's Head loop cannot slip off.
References & Sources
- Synapse Manual — Setting Up Your Kite, Tangles & Knots, and How to Wind Your Lines — Prism Designs
- Kite Flying Basics — Tangles & Knots and How to Wind Your Lines — Prism Designs Flight Center
- Stunt Kites 101 — Setting Up Your Kite, Stunt Kite Lines, and Winding in Stunt Kite Lines — Into The Wind
- A Field Guide to Repairing Your Stunt Kite (pp. 20–21, 27) — Prism Designs
- Tangles Happen: How to Handle Kite Line Tangles — KiteKits